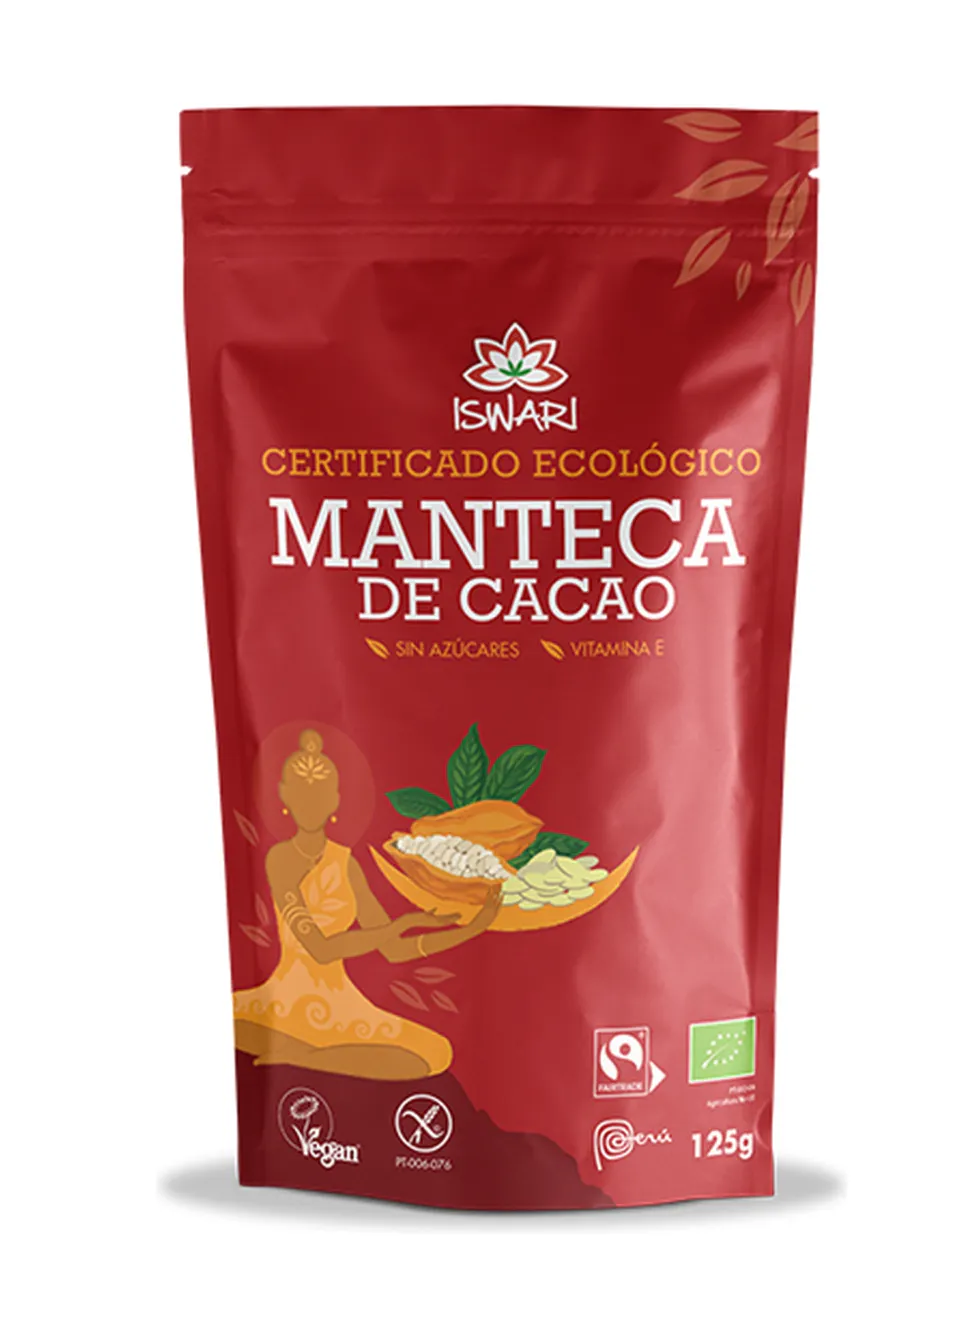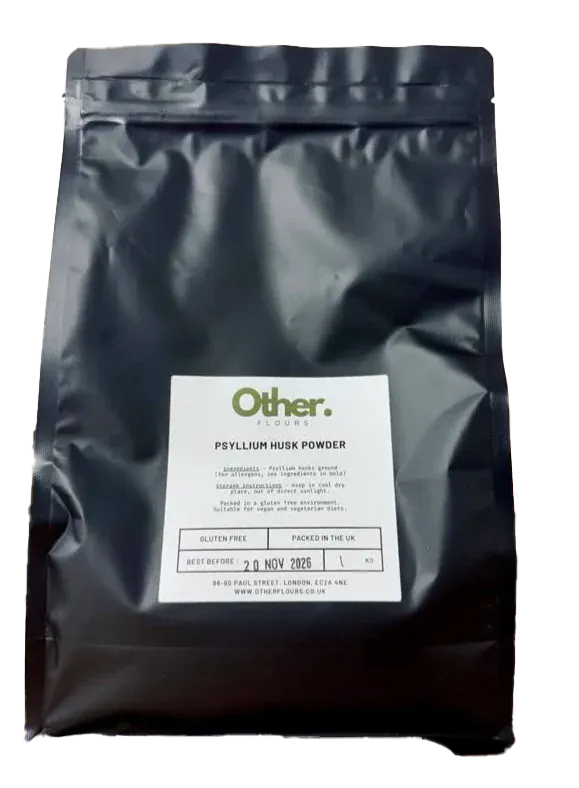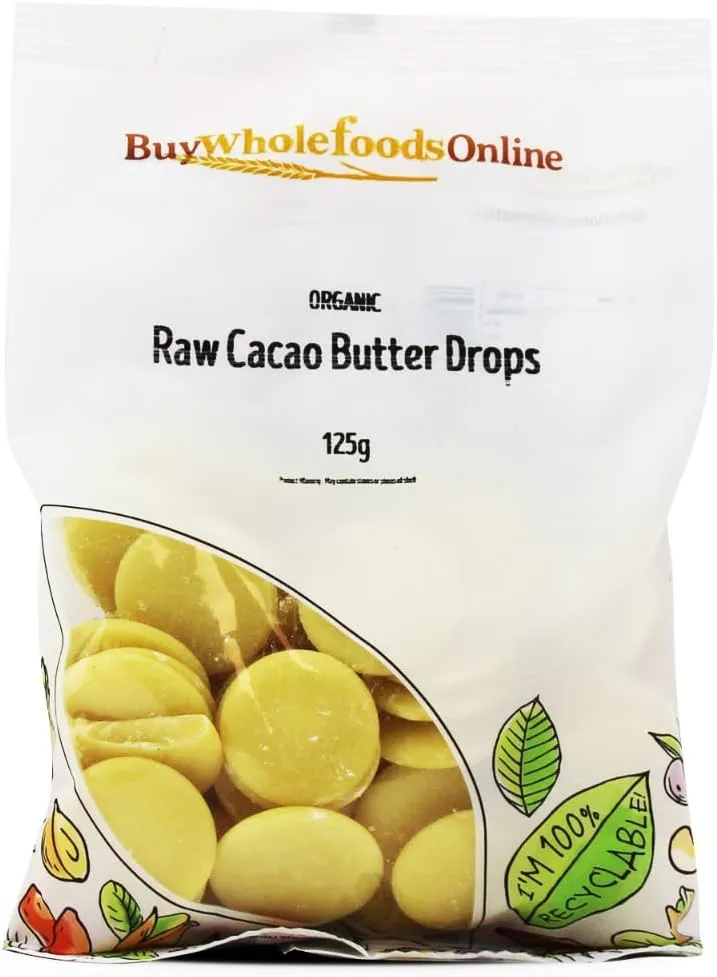



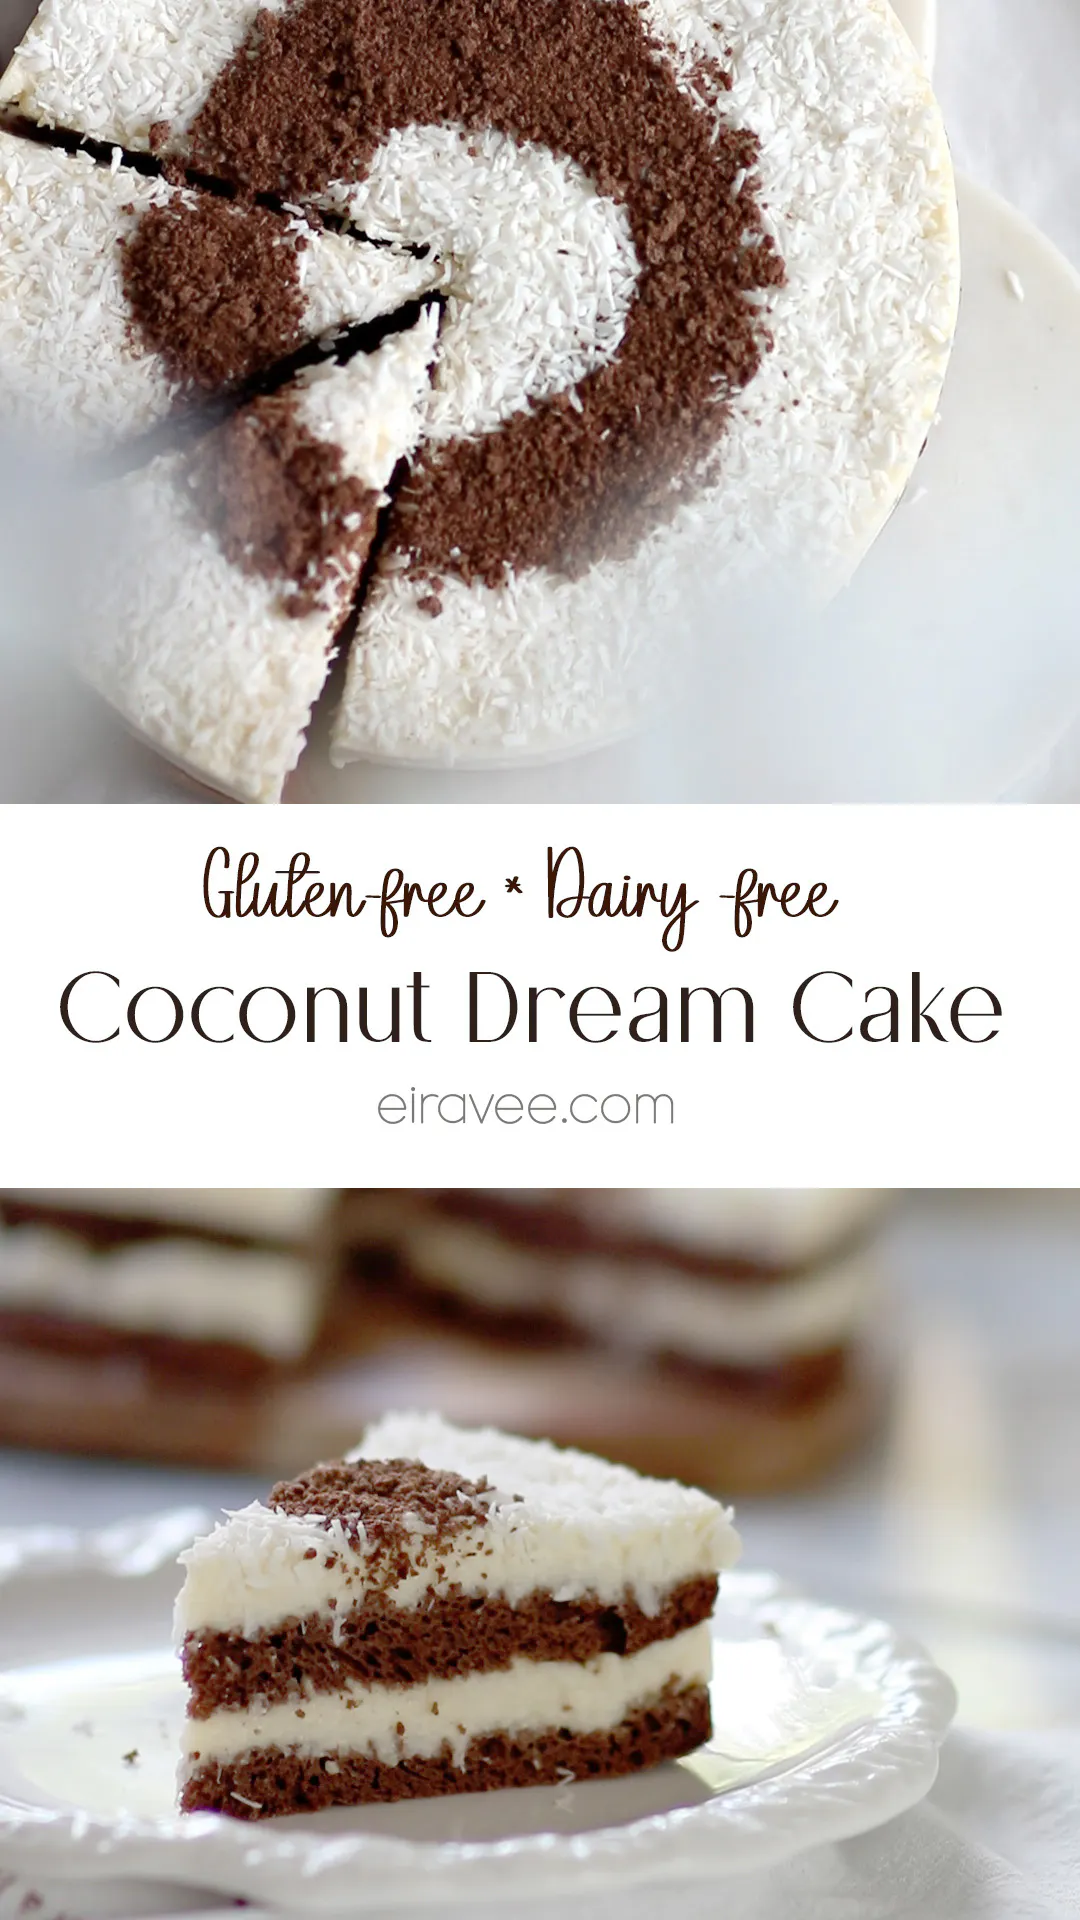
This Coconut Dream Cake is all about the combination of chocolate and coconut, with a light cocoa sponge layered with a beautifully smooth, creamy coconut filling. It feels indulgent and special, yet the sponge itself is surprisingly simple to prepare.
The base is made with eggs, plant-based yoghurt and Eiravee fibre blend, with cocoa and vanilla adding plenty of flavour. Whisking the eggs and yoghurt until really light and airy is the key to creating a soft sponge, so give them enough time to increase properly in volume before adding the dry ingredients.
The coconut cream is made in two stages. First, a thick coconut custard is cooked with plant milk, cornflour and desiccated coconut, then chilled completely. Once cold and whisked until silky smooth, it’s gently combined with whipped coconut cream to create a wonderfully light yet rich filling that holds its shape beautifully.
Layer the coconut cream generously between the two halves of the chocolate sponge and over the top, then finish the cake with plenty of desiccated coconut. A few hours in the fridge allows everything to set and gives the sponge time to settle into the creamy filling. Serve it well chilled for the best texture – and an extra sprinkle of coconut never hurts.


About the ingredients used in this recipe
Eggs
In this recipe we use medium eggs (UK size M). Using the same egg size helps keep the texture and structure of the baked goods consistent.
Plant- based yoghurt
I used The Coconut Collab -Gut Health yoghurt, which is a creamy dairy-free alternative that works well in gluten-free baking. It adds moisture and a slight tang, which can help improve the texture of certain doughs and batters.
If dairy is not an issue, it can be replaced with thick Greek yoghurt, which provides a similar texture and consistency.
Eiravee Fibre Blend
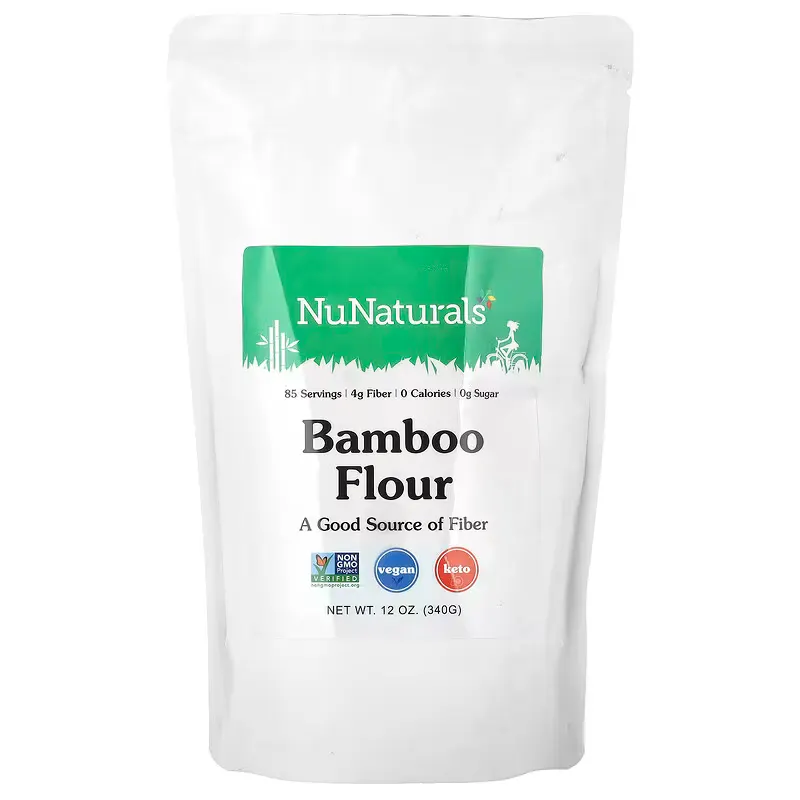
A fibre-based flour alternative, developed in-house to improve texture and structure in gluten-free baking. The recipe for the Eiravee Fibre Blend can be found on the website.
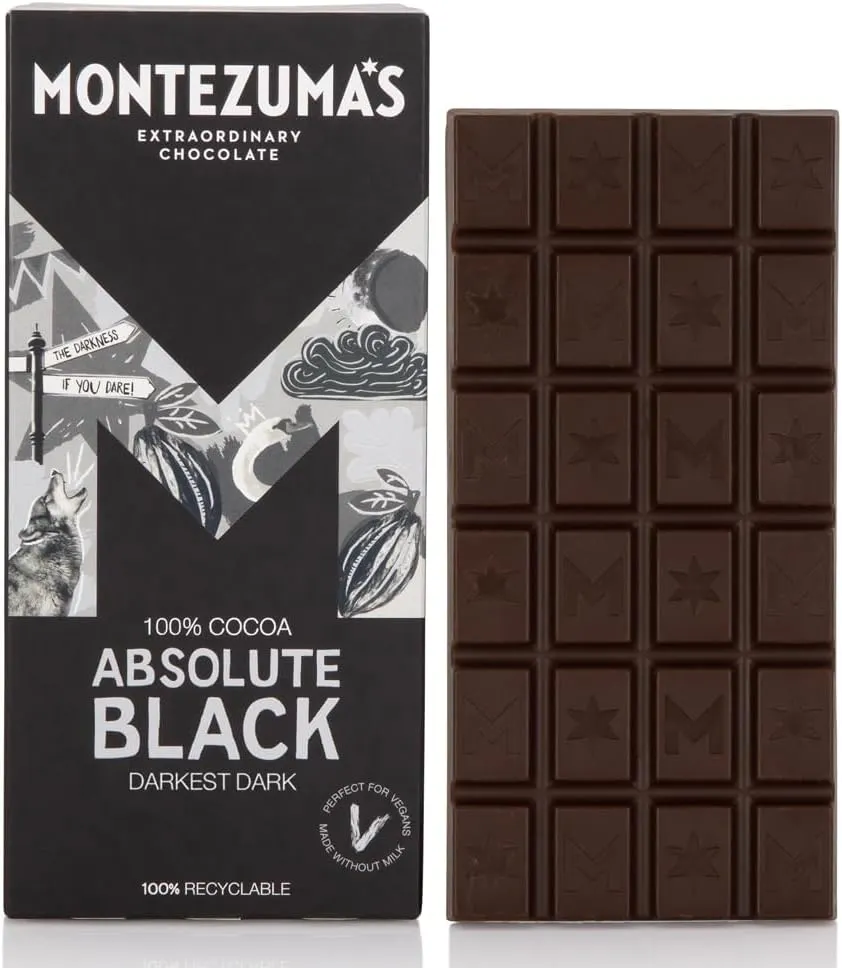
Unsweetened Cocoa Powder
We always use unsweetened cocoa powder so the sweetness of the recipe can be adjusted as needed. It provides a rich chocolate flavour without adding extra sugar.
Eiravee Sweet Blend
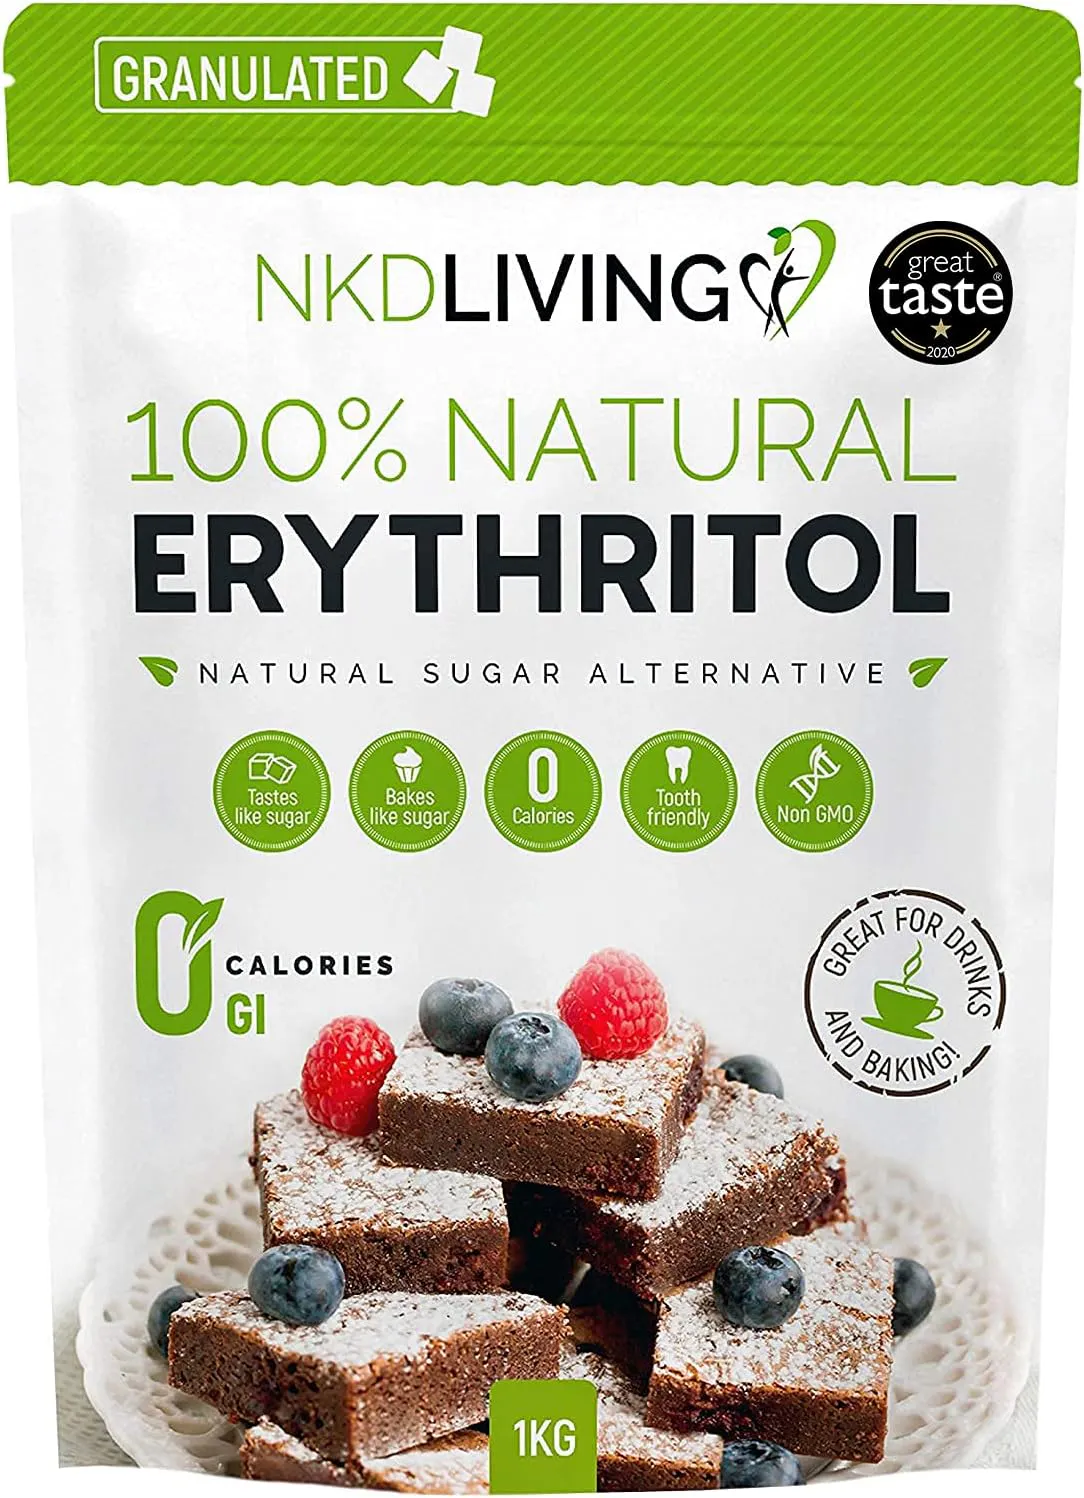
Eiravee Sweet Blend is our own sweetener mix made from erythritol and stevia, developed to provide a clean, balanced sweetness without added sugar.
It is approximately four times sweeter than sugar, so only a small amount is needed in recipes. The full recipe for the blend is available on the website and in the cookbook.
If you already have Truvia sweetener at home, feel free to use it in similar proportions in this recipe.
Cornflour or Sugar-Free Custard Powder
Cornflour is a finely milled starch commonly used to improve texture in baking and desserts. In gluten-free recipes, it plays an important role in creating a lighter, softer crumb by reducing density and adding a delicate, tender structure.
It is often used in small amounts to balance heavier flours or fibre-rich blends, helping to achieve a more refined, less compact result. In addition to baking, cornflour is widely used as a thickening agent for sauces, creams and fruit fillings, where it creates a smooth, glossy consistency without affecting flavour.
When heated with liquid, cornflour gelatinises — meaning it absorbs moisture and thickens the mixture. This property helps stabilise batters and fillings, contributing to a cohesive texture and preventing excess moisture from separating during baking.
For this recipe, you can use either cornflour or a sugar-free custard powder. Custard powder performs a similar role while also adding a subtle vanilla flavour. I sometimes use Morrisons Sugar Free Custard Powder, but another suitable sugar-free custard powder can be used instead.
Plant Milk
In most recipes we use plant-based milk, usually Plenish coconut milk or homemade coconut milk. These options contain very simple ingredients and are free from unnecessary additives or thickeners.
Using a clean, minimally processed plant milk helps keep the flavour natural and works well in both sweet and savoury baking.
Other unsweetened plant milks can also be used, but choosing versions without added sugars or stabilisers usually gives the best results in baking.
Vanilla Paste
For vanilla flavour we prefer vanilla paste. It has a deeper, more natural flavour than many extracts and the tiny vanilla seeds also add a lovely visual detail to desserts.
Coconut Cream
Coconut cream is used to create a light, airy texture in dairy-free recipes, particularly when whipped into a soft cream.
For best results, the coconut cream must be thoroughly chilled — ideally refrigerated for at least overnight. This step is essential, as only well-chilled coconut cream can be whipped successfully.
If using canned coconut milk, choose a full-fat version and refrigerate it unopened. Once chilled, open the can carefully and scoop out the thick, solid cream from the top. This is the part used for whipping. The remaining liquid can be reserved and used in other parts of the recipe, such as creams or sauces.
For optimal whipping, use a coconut cream with at least 20% fat content. Transfer the chilled cream into a tall container and whip using an electric mixer on high speed for approximately 4–5 minutes, until light and fluffy.
Alternatively, you can use a plant-based whipping cream, such as Flora Double Cream Alternative or a similar plant-based double cream alternative. For best results, place it in the fridge the day before so it is thoroughly chilled before whipping. Just keep in mind that these products may contain some added sugar, so the final carbohydrate and sugar content will be slightly higher.
For more detailed guidance and tips, see my Whipping Coconut Cream guide in the Techniques section here.
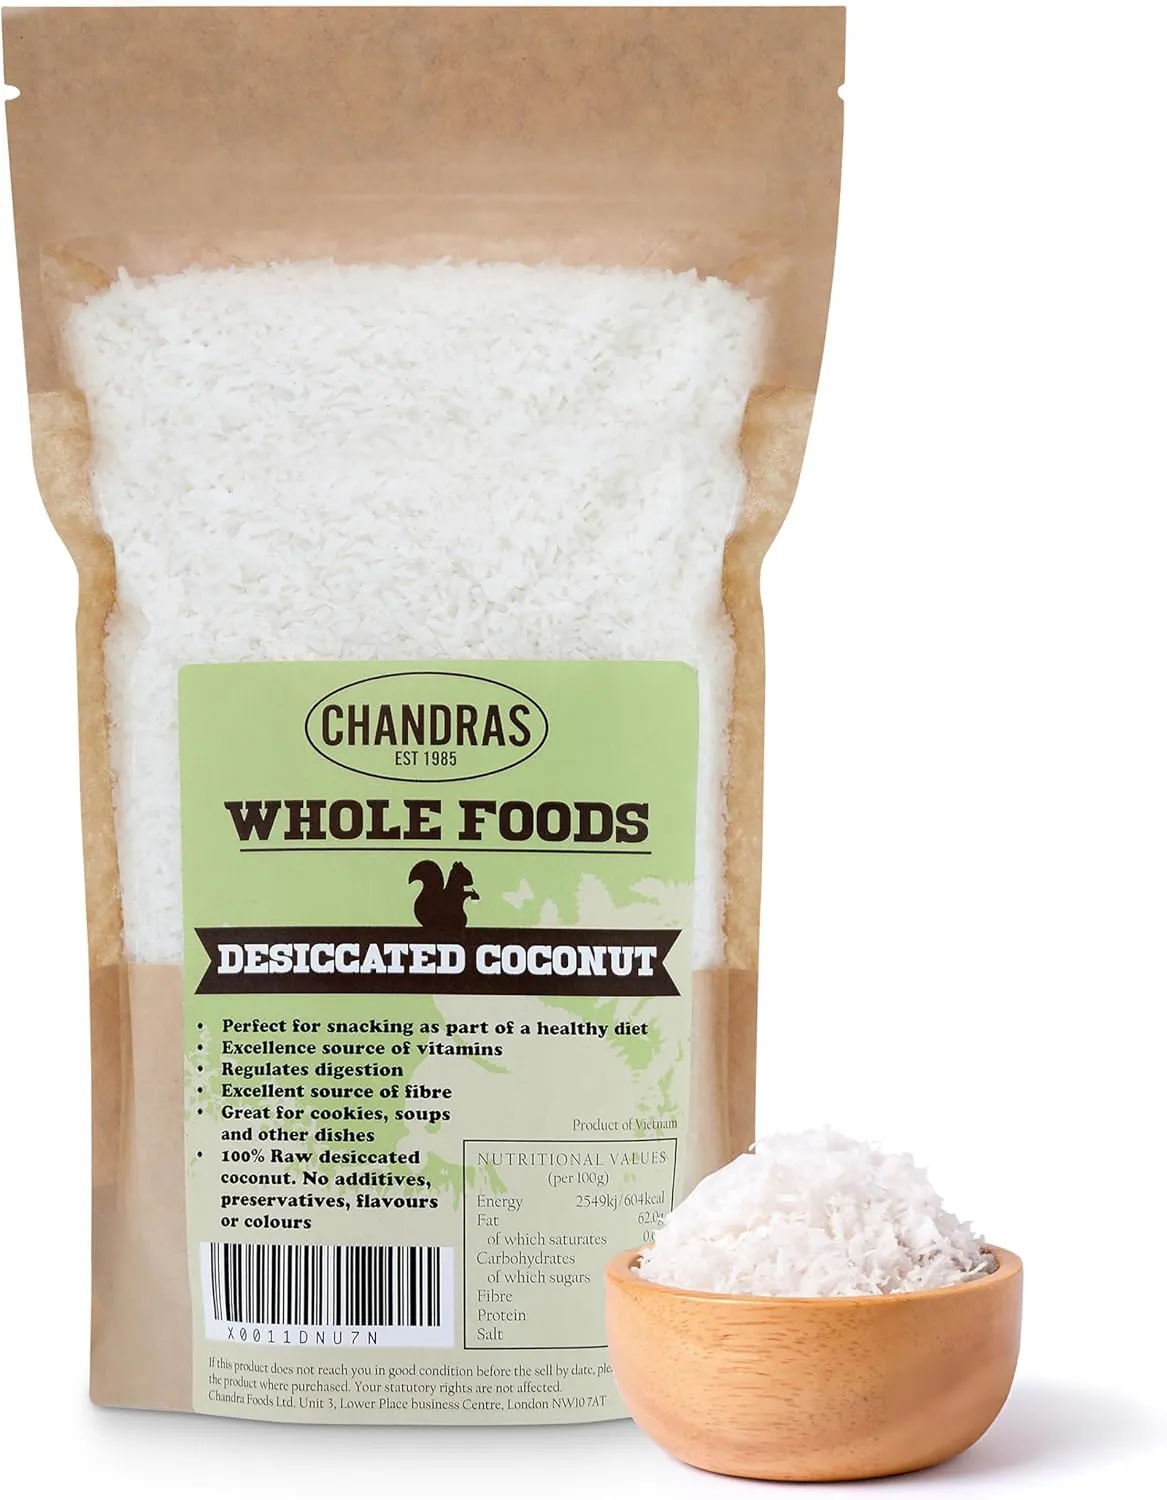
Desiccated coconut
Desiccated coconut adds flavour, texture and a small amount of natural fat to the dough. In AIP-friendly baking, it can help improve the structure of grain-free biscuits while giving them a pleasantly crumbly texture.
For this recipe, I particularly like using Buy Wholefoods Organic Desiccated Coconut. You can find the product I use, along with a link, on my Products I Trust page.

A quick visual guide to some of the key stages of the recipe, showing how it comes together along the way. For the complete step-by-step instructions, follow the full method below.
Coconut Dream Cake
Lower in calories and carbs while also being completely gluten-free and dairy-free, this Coconut Dream Cake is a lighter take on a truly indulgent-tasting dessert. A soft chocolate sponge is layered with silky coconut cream and finished with a generous sprinkling of desiccated coconut. Creamy, light and full of coconut flavour, it’s the sort of cake that feels like a proper treat without being overly heavy.


For the Sponge
- 3 medium eggs
- 60g plant-based yoghurt
- 40g Eiravee fibre blend - free recipe is here
- 1 tbsp unsweetened cocoa powder (8-10 g)
- 1½ tbsp Eiravee sweetener - free recipe is here
- 1 tsp baking powder
- 1 tsp vanilla paste
- Pinch of salt
For the Cream
- 200ml coconut cream - I use this
- 50g sugar-free custard powder or cornflour
- 20g desiccated coconut - I use this
- 400ml plant-based (coconut) milk
- 2 heaped tbsp Eiravee sweetener
- Pinch of salt
- 2 tsp vanilla extract
For the Top
- 5 tbsp desiccated coconut (approximately 25g)
For the sponge:
Sift together all the dry ingredients in a mixing bowl. In a separate bowl, whisk the plant-based yoghurt and eggs together, preferably with an electric mixer, until the volume has increased roughly threefold and you've got a lovely, airy mixture.
Fold in the dry ingredients and beat everything together with your mixer until you've got a smooth batter. Line a 20cm cake tin with baking paper, then pour in your mixture. Bake in a preheated oven at 180°C on upper and lower heat for about 20 minutes. Give it a skewer test before removing from the oven to make sure it's done—the skewer should come away clean.
Once baked, carefully peel away the baking paper and leave the sponge on a wire rack to cool completely.
For the cream:
Chill the coconut cream (or plant-based whipping cream) in the fridge for at least a day, keeping it at around 4-5°C. Only then will you be able to whip it properly to stiff peaks.
For more detailed guidance and practical tips, take a look at my Whipping Coconut Cream guide in the Techniques section.
For the custard base, place the sugar-free custard powder, sweetener, salt, and desiccated coconut in a saucepan and pour over the plant milk. Whisk everything together until completely smooth, then bring to a simmer over a medium heat, stirring constantly. You'll only need a few bubbles to appear on the surface before the cream thickens nicely to a proper custard consistency.
Cover the cream with cling film to prevent a skin forming on top, then chill thoroughly until completely cold.
Once the cream is properly chilled, whisk it smooth with an electric mixer so it's silky and free from any lumps or rubbery bits.
Whip the coconut cream in a tall bowl using an electric mixer on its highest setting until you've got stiff peaks (see detailed technique [here] if you need guidance).
Gently fold the whipped coconut cream into the smooth, custard-like cream until everything's combined beautifully.
To assemble:
Split the sponge in half horizontally. Spread half the cream onto the bottom layer, then place the top sponge on and cover that with the remaining cream. Finish with a generous scatter of desiccated coconut over the top.
Pop it in the fridge for a few hours before slicing—it's absolutely lovely when it's had time to chill and set properly.
- Chill the coconut cream: The coconut cream needs to be thoroughly chilled before whipping. Keep it in the fridge at around 4–5°C for at least 24 hours for the best results.
- Whip plenty of air into the sponge: Whisk the eggs and plant-based yoghurt until the mixture is pale, airy and roughly tripled in volume. This helps give the sponge its lighter texture.
- Keep stirring the custard: Stir continuously as the coconut custard heats to prevent lumps and stop it catching on the bottom of the saucepan.
- Cover the surface: Place cling film directly over the surface of the cooked custard before chilling to prevent a skin from forming.
- Cool everything completely: Both the sponge and coconut custard need to be completely cold before assembling the cake.
- Fold gently: When combining the whipped coconut cream with the custard, fold rather than beat to retain as much air as possible.
- Allow time to set: Chill the finished cake for at least a few hours before slicing. This gives the cream time to firm up and makes the cake much easier to cut neatly.
- Serving: This cake is best served chilled, straight from the fridge.
Per Serving Nutrition (1 of 8 servings)
- Calories: 166.5 kcal
- Protein: 4.0 g
- Carbohydrates: 9.1 g
- Fat: 11.1 g
- Fiber: 6.2 g
- Sugar: 2.0 g
Nutritional values are calculated without polyols. As this recipe uses a sugar-free sweetener blend, individual responses may vary.
Please note that these values are for reference only, as ingredient variations may lead to differences in nutritional content. We recommend considering this when preparing the recipe.
This recipe is made using a fibre-based flour alternative and a sweetener blend. Nutritional values may vary depending on the specific ingredients used. When increasing fibre intake, it is recommended to do so gradually and ensure adequate fluid consumption.
Tried this recipe?
Tag @eiravee_uk on Instagram!